THE FITTING BOOK
NOW

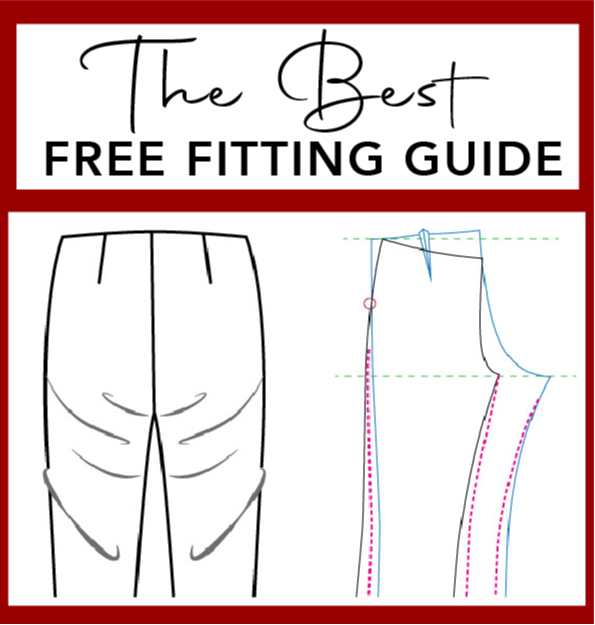
Back Waist Draglines Corrections – Adding a Design Line
Back draglines often occur due to the curvature of the spine or the roundness of the shoulder blades. These natural body lines may be deceiving and could result in fabric excess along the back waist area of your patterns. There are several options for fixing this problem. This is the first one and works well for both knits and wovens.
Before going into this correction, always check if the pattern is balanced. So often, the back armhole is too low compared to the front armhole, which should be checked before you make this correction. That can actually fix a big part of this issue as a starting point. To review pattern balancing, here are the videos about balanced tops and balanced coats and jackets.
For this option, we will add a yoke seam, peplum waist seam, or any seam location in between those.
Steps to Add a Design Line
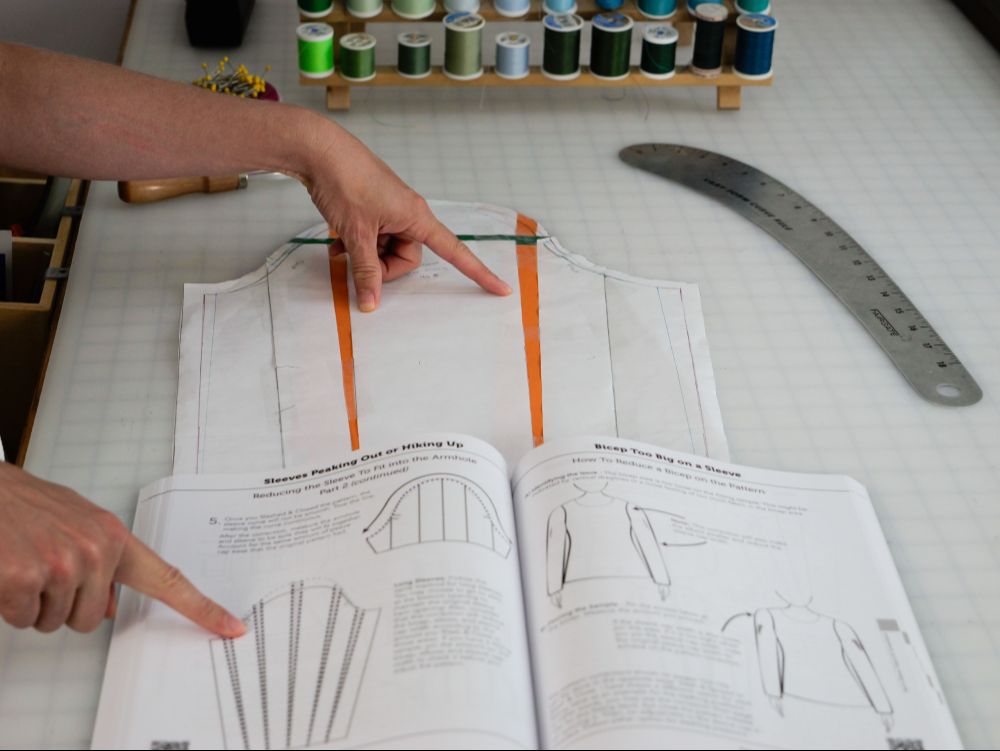
- Choose Seam Placement: Choose where you want your seam to go. It can be any horizontal line between the yoke area at the across-back to the peplum area at the waist.
- Pin Excess Fabric: Pin the amount needed to eliminate the back draglines. It will be more at the center back (CB) than at the side seams. Make sure you can still move comfortably.
- Mark the Seam Shape: Mark the pattern in the location you pinned. Your line will be a fish-eye shape.
- Adjust Length if Needed: You may or may not need to add back to the CB length at the hem. This varies per person for the shape and depends on the amount you’ve pinned, too.
– Generally, yoke shapes are nicer for woven fabrics when they are rounded the opposite way, giving more room for the shoulder blades, as we’ve seen in previous videos.
– You’ll be most successful in adding the seam on woven materials between the back bust area and peplum waist area.
– It would be more common in knits for adding the upper yoke seam area.
– Adding the seam at the peplum waistline area is amazing for both wovens and knits.
Again, always check that armhole depth first between front and back bodices to make sure it’s balanced!
This information and more can be found in The Fitting Book. Order your book today through the link below.
THE FITTING BOOK:
The Ultimate Fitting Guide
That You’ll Use Throughout
Your Fitting & Sewing Journey.

LEARN
THE 3-STEP
FITTING PROCESS:
- ✔ Identify the Fitting Issue.
- ✔ Pin, Cut, & Tape the Fitting Sample.
- ✔ Correct the Sewing Pattern.
CUSTOMIZED FIT
YOU WANT
The Fitting
Book
INCLUDES:
- ✔ Tops
- ✔Pants
- ✔ Skirts/Dresses
- ✔ My Secret in Fitting
Diagonal Draglines
Love that Fit.
let's connect
- Follow this Pinterest Board for Sewing ideas and Inspiration!
- Join the Sewist Facebook
- Follow & DM me on Instagram@GinaReneeDesigns.
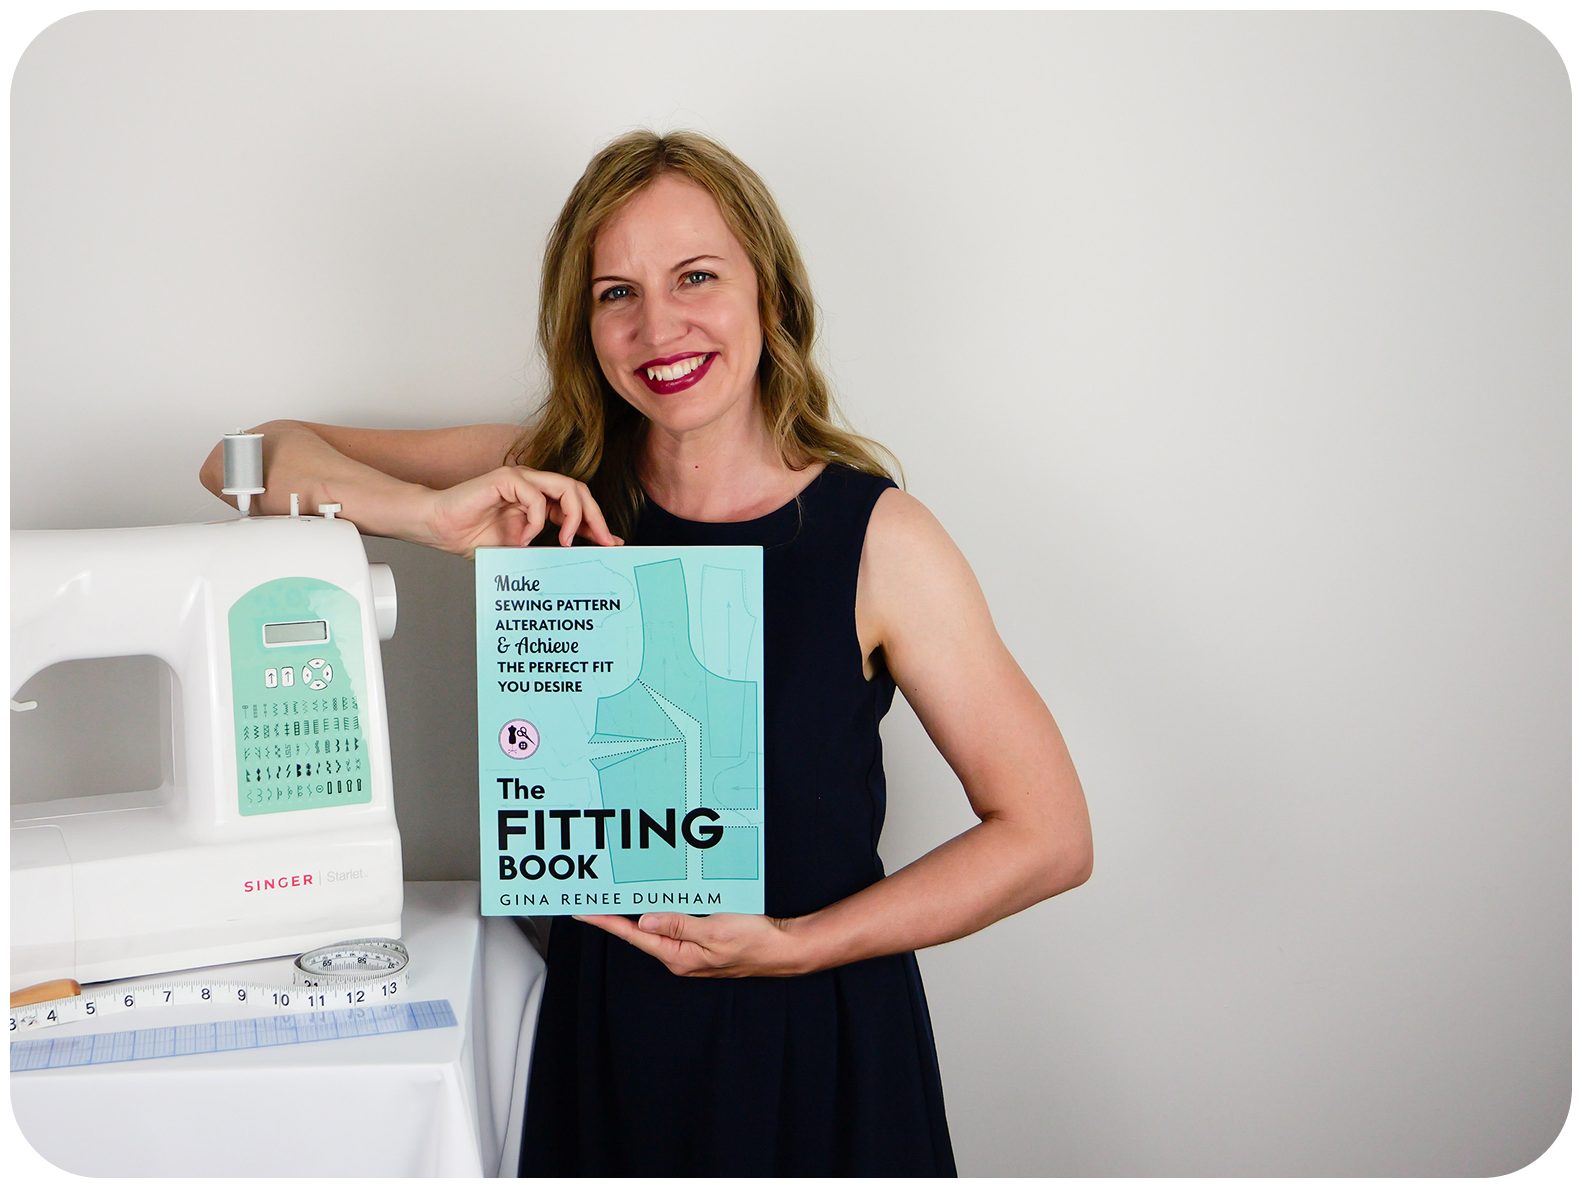
MEET GINA
It's a feeling of happiness to create and sew. Sewing allows the imagination to flourish which brings fulfillment and gives a sense of accomplishment. For so many people, sewing is that happy place. It s getting into that creative flow where time doesn't exist and problems seem to disappear. The result is amazing. When you try that item on after you 've finished it, there is nothing better than feeling 100% YOU. You 've designed it with your fabric combinations and it fits you Meet Gina