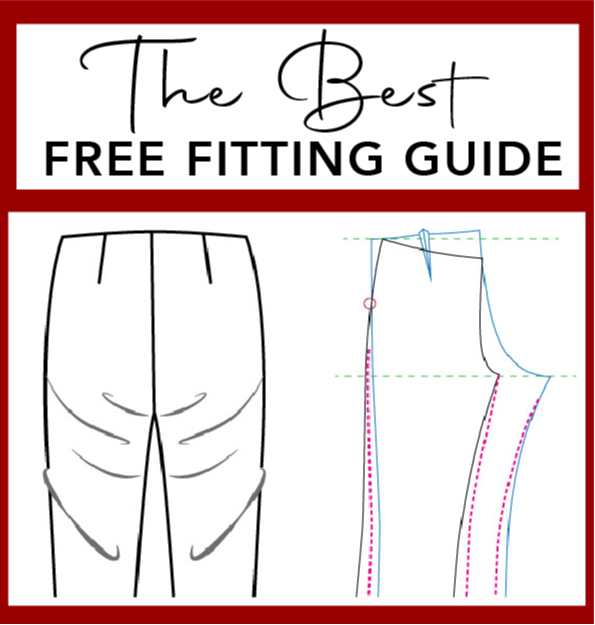
THE FITTING BOOK
NOW

Fixing Armhole Gaping – Adding Darts
This post is part of a series that discusses corrections for gaping armholes in different style patterns, meaning they don’t sit close to the body.
Here’s the slash and close method for gaping armholes. Last time, you saw how the tracing method works for a style that already has darts. This slash/close method gets you the same result; it just lets you think of it in a different way.
As with the princess seams and dart corrections, bear in mind that sometimes you’ll need to also adjust the bust to complement this correction.
This correction is for styles that have no darts. However, to fix the problem of the gaping armhole, adding a dart is recommended. You could alternatively make that dart a pleat depending on your design (pleats would generally look nice coming from the shoulder seam, empire waistline, or neckline, but not from the side seams).
How to Fix Gaping Armholes by Adding Darts
- Pin the amount that’s gaping in the direction of the Apex, and mark your apex position on your pattern.
- Measure the amount and locations you’ve pinned and marked. Then mark the pattern at that location and amount, extending the line to the Apex.
- Mark a line indicating where you want your new dart (or pleat) and cut up that line to the Apex.
- Close the pinned amount.
- The dart (or pleat) depth is automatically created.
- Redraw the point of the dart to finish around 3/4”–1” from the Apex (depending on your cup size).
That’s it! It’s essentially the same correction as the previous post, but just with another method. It’s great to have so many options in pattern making, don’t you agree?! 💜😊
The sleeve correction for this style is the same for this little series and will be in a separate post.
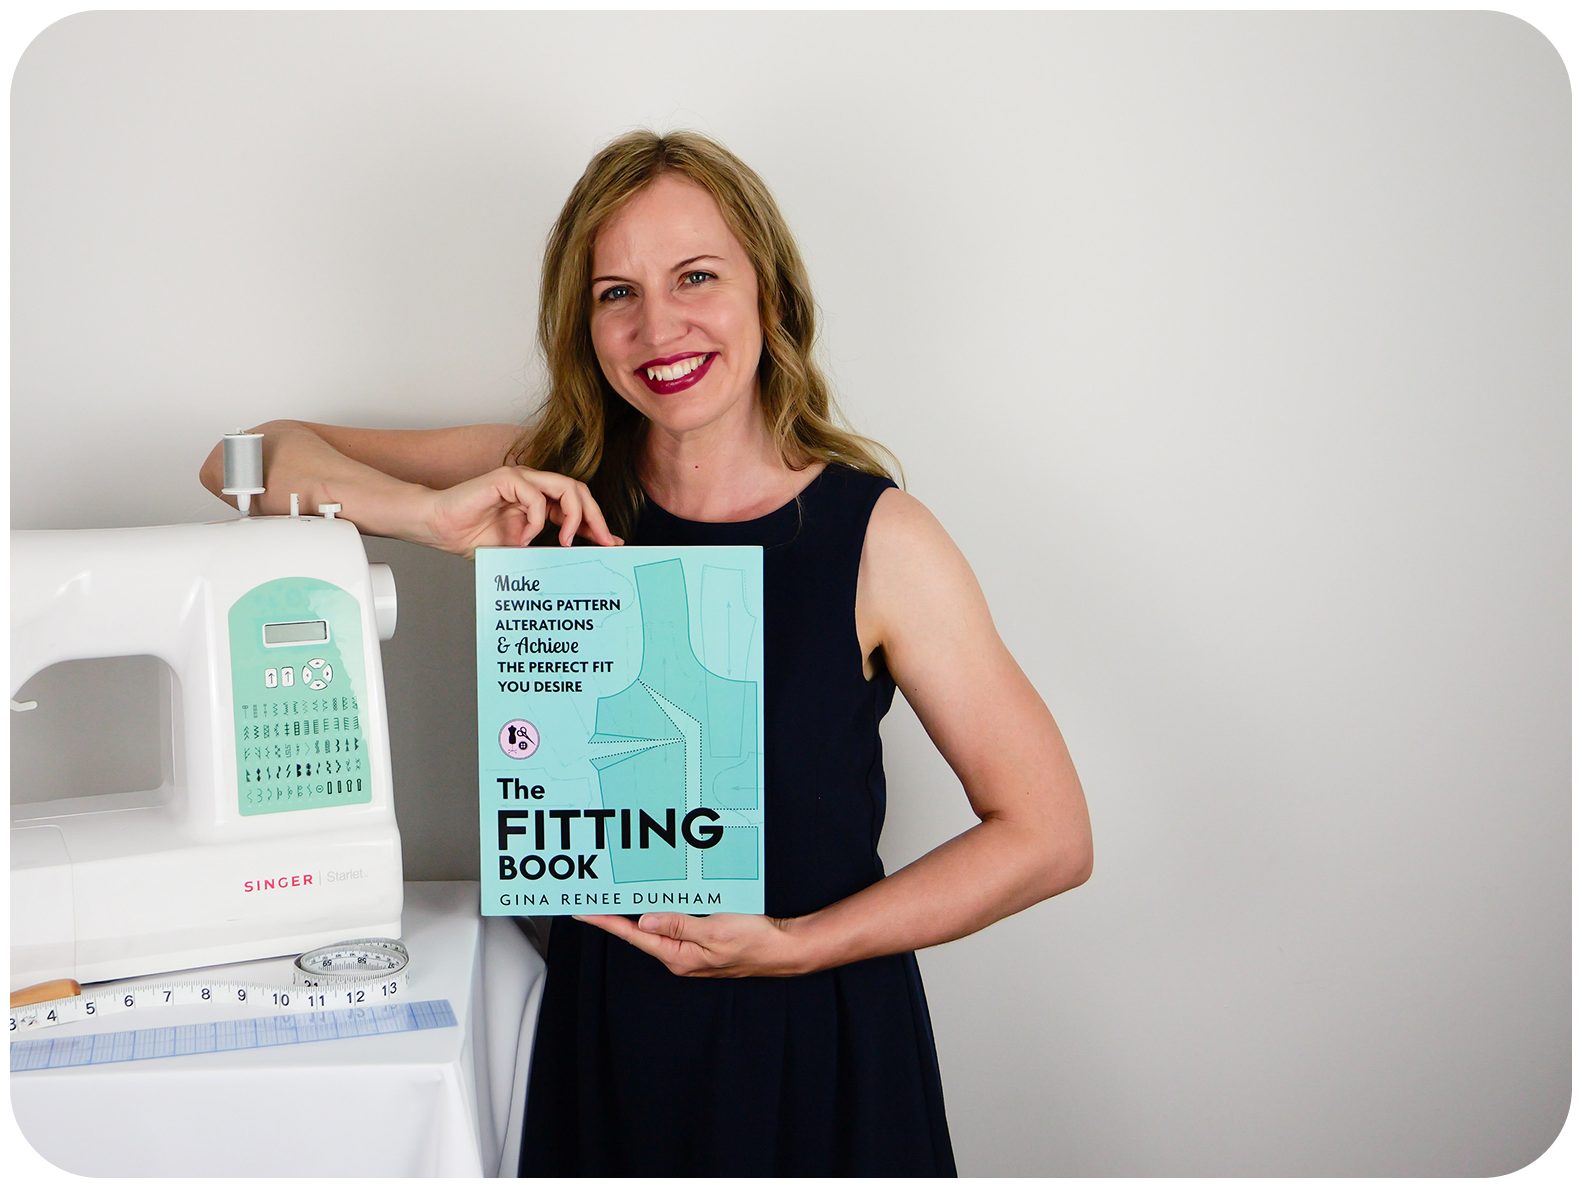
This information and more can be found in The Fitting Book. Order your book today through the link below.
THE FITTING BOOK:
The Ultimate Fitting Guide
That You’ll Use Throughout
Your Fitting & Sewing Journey.

LEARN
THE 3-STEP
FITTING PROCESS:
- ✔ Identify the Fitting Issue.
- ✔ Pin, Cut, & Tape the Fitting Sample.
- ✔ Correct the Sewing Pattern.
CUSTOMIZED FIT
YOU WANT
The Fitting
Book
INCLUDES:
- ✔ Tops
- ✔Pants
- ✔ Skirts/Dresses
- ✔ My Secret in Fitting
Diagonal Draglines
Love that Fit.
let's connect
- Follow this Pinterest Board for Sewing ideas and Inspiration!
- Join the Sewist Facebook
- Follow & DM me on Instagram@GinaReneeDesigns.
MEET GINA
It's a feeling of happiness to create and sew. Sewing allows the imagination to flourish which brings fulfillment and gives a sense of accomplishment. For so many people, sewing is that happy place. It s getting into that creative flow where time doesn't exist and problems seem to disappear. The result is amazing. When you try that item on after you 've finished it, there is nothing better than feeling 100% YOU. You 've designed it with your fabric combinations and it fits you Meet Gina