THE FITTING BOOK
NOW

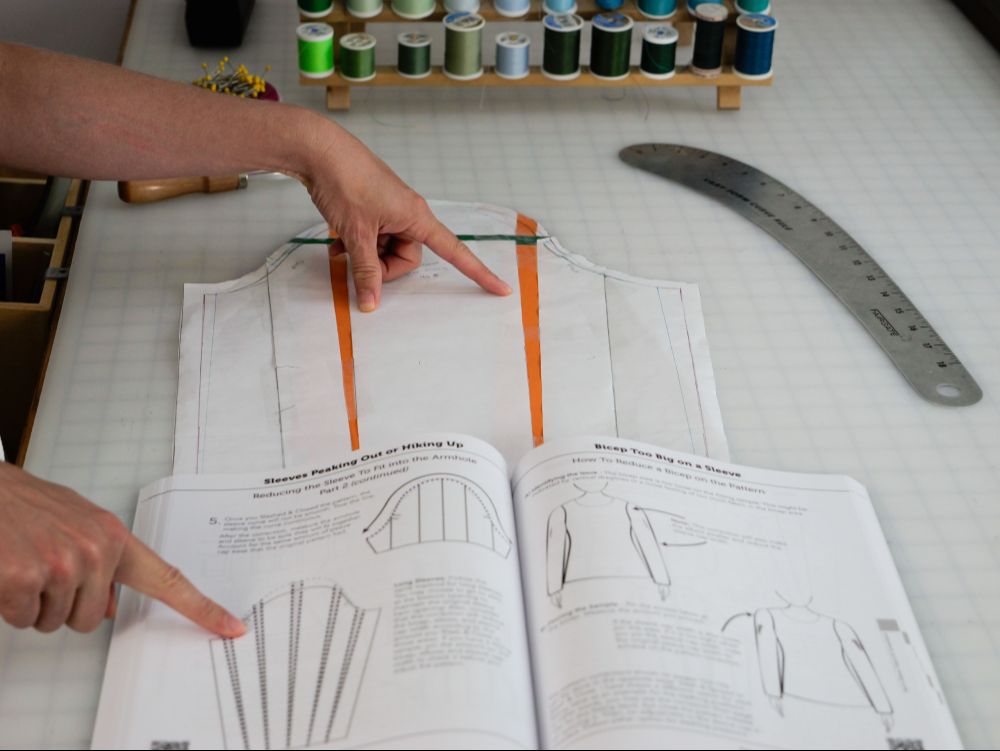
Increasing the Front Width from Across the Armholes
What do you do when the “across-front” area is too small or tight, but you’re happy with the shoulder position?
If you’ve ever had this issue, follow these steps to correct the across-front width.
Step-by-Step Correction for Across-Front Width
- Cut your sample on the armhole along the across-front area on both the left and right armholes.
- Tape and pin the amount that was missing.
- Move around to make sure it’s comfortable. When satisfied, measure the amount you’ve taped open.
- On your pattern, add to the armhole the amount you’ve taped open in the across-front area.
- This adjustment slightly reduces the armhole measurement. You may need to slash and close the sleeve in the same area to fit the new armhole.
That’s it! Super easy and quick to correct.
This information and more can be found in The Fitting Book. Order your book today through the link below.
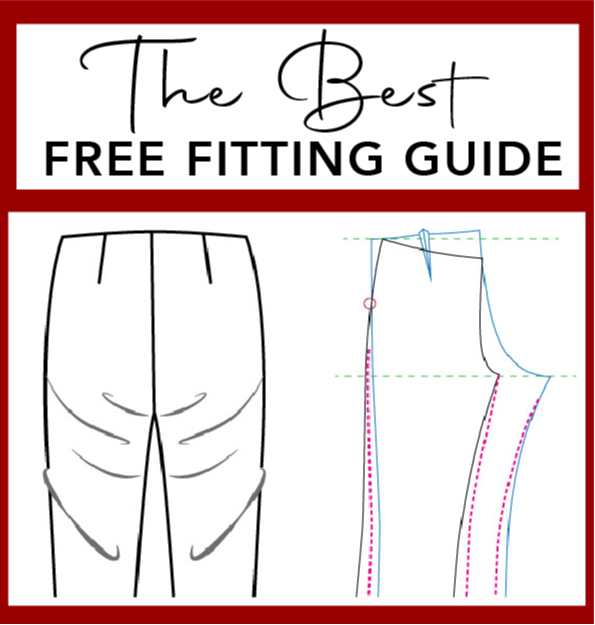
THE FITTING BOOK:
The Ultimate Fitting Guide
That You’ll Use Throughout
Your Fitting & Sewing Journey.

LEARN
THE 3-STEP
FITTING PROCESS:
- ✔ Identify the Fitting Issue.
- ✔ Pin, Cut, & Tape the Fitting Sample.
- ✔ Correct the Sewing Pattern.
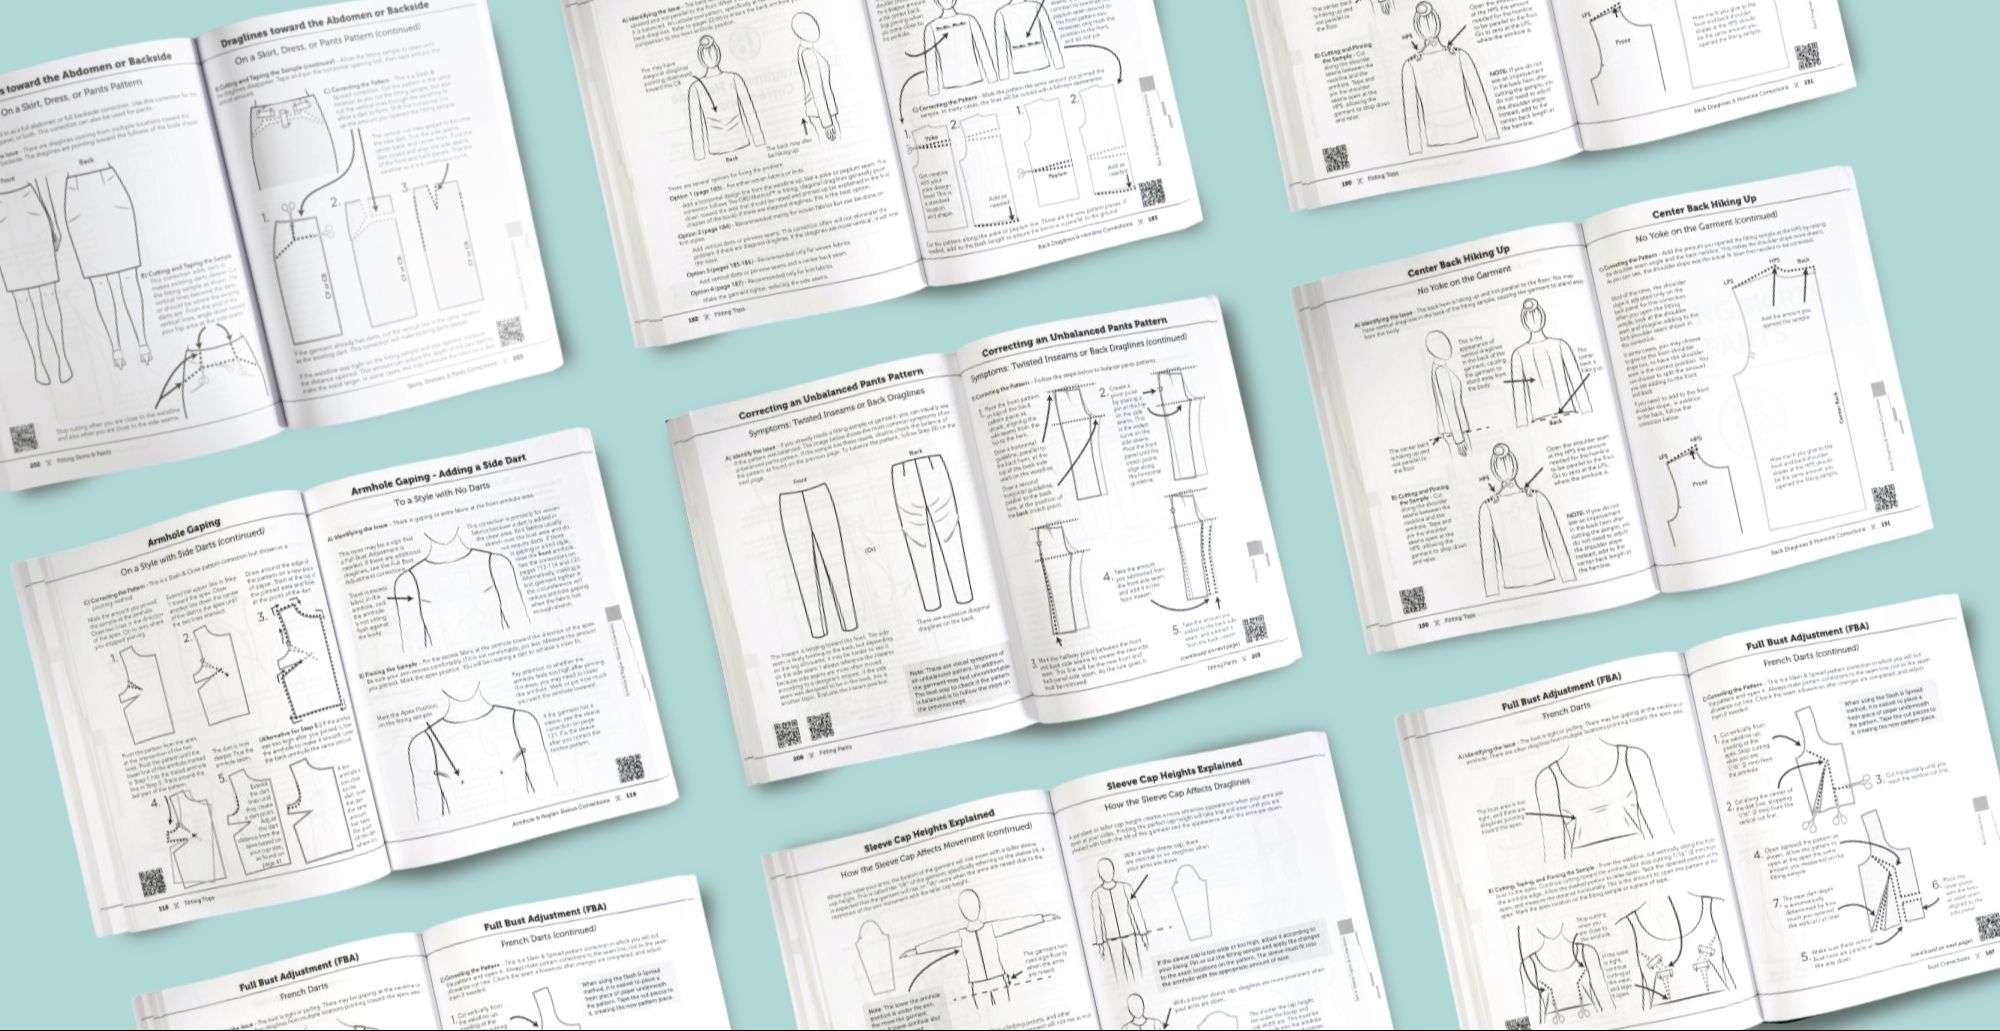
CUSTOMIZED FIT
YOU WANT
The Fitting
Book
INCLUDES:
- ✔ Tops
- ✔Pants
- ✔ Skirts/Dresses
- ✔ My Secret in Fitting
Diagonal Draglines
Love that Fit.
let's connect
- Follow this Pinterest Board for Sewing ideas and Inspiration!
- Join the Sewist Facebook
- Follow & DM me on Instagram@GinaReneeDesigns.
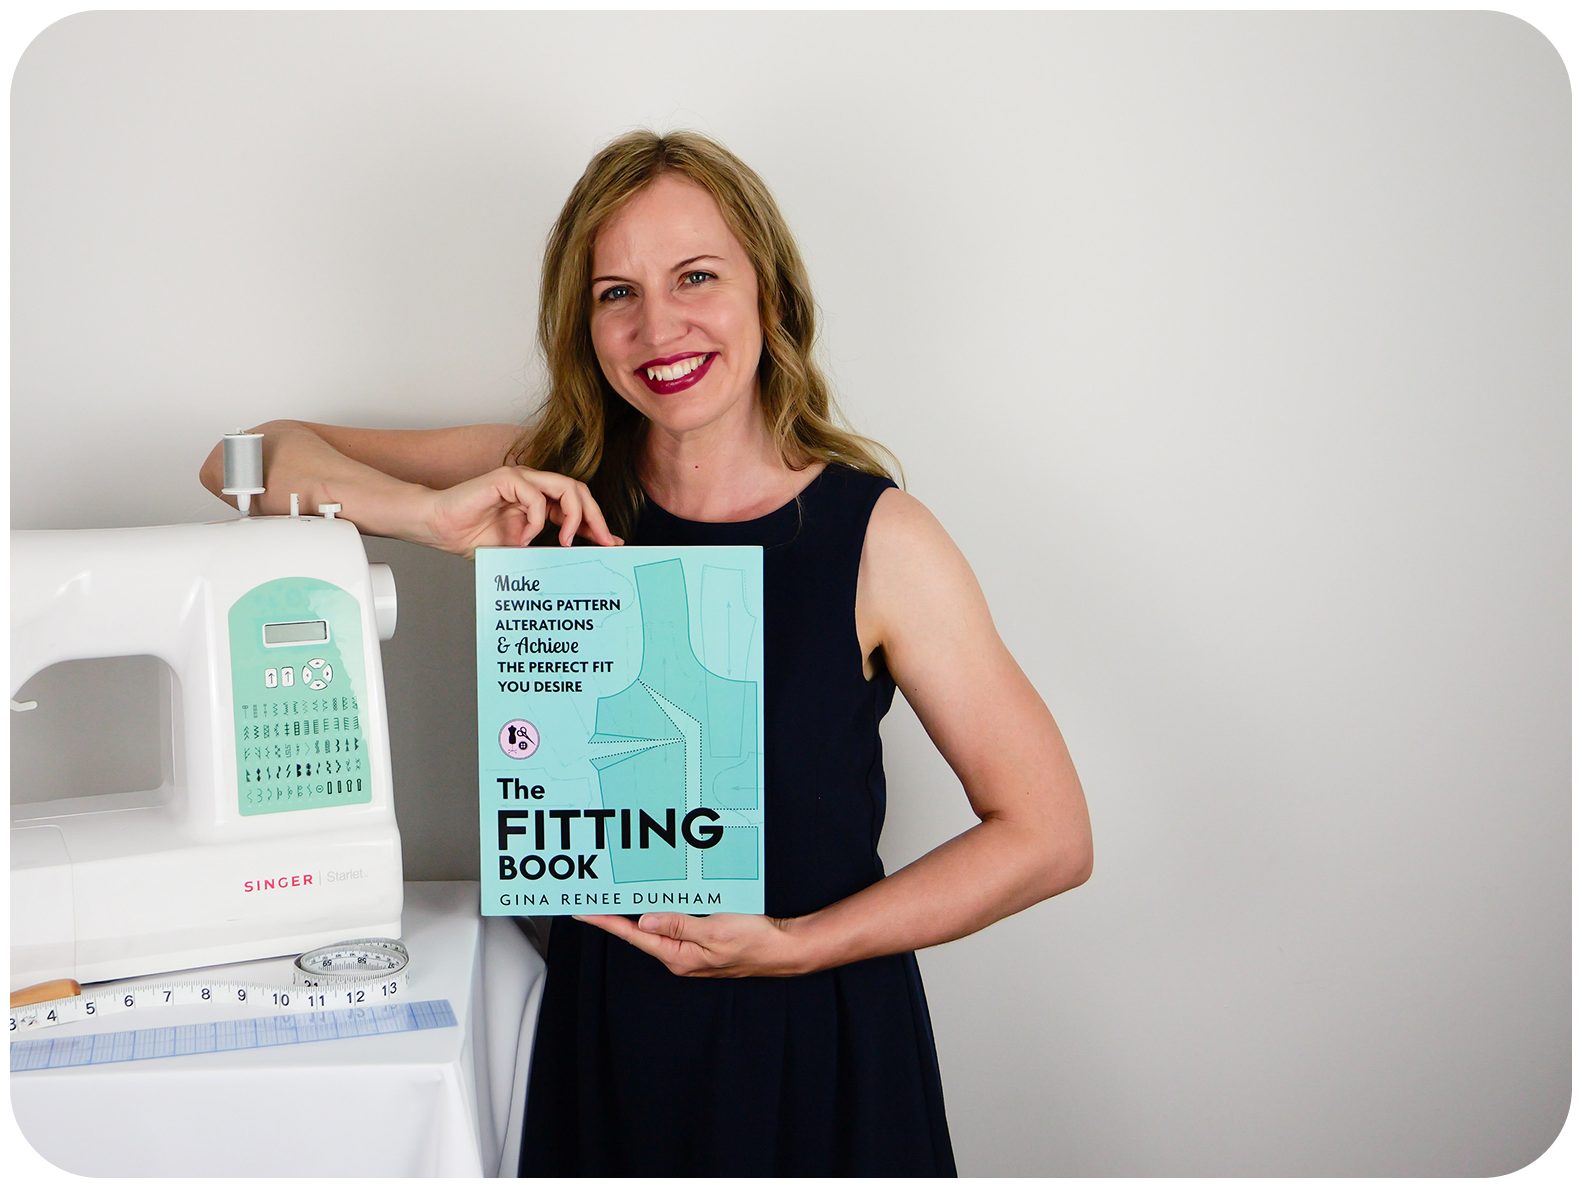
MEET GINA
It's a feeling of happiness to create and sew. Sewing allows the imagination to flourish which brings fulfillment and gives a sense of accomplishment. For so many people, sewing is that happy place. It s getting into that creative flow where time doesn't exist and problems seem to disappear. The result is amazing. When you try that item on after you 've finished it, there is nothing better than feeling 100% YOU. You 've designed it with your fabric combinations and it fits you Meet Gina